Interior house painting can completely transform how a home feels and how it looks. A fresh, well-chosen colour scheme can brighten a room, modernise a dated interior, increase your property value, or simply make your living space more enjoyable. Done properly, interior painting is one of the highest-impact upgrades a homeowner can make.
This guide walks you through the key steps — colour selection, finishes, and preparation — to help you understand the process and what creates a long-lasting professional result.
If you’re planning a full interior repaint and want a clear scope, tidy workmanship, and a professional finish, our interior painting services in Auckland explain exactly what’s included and how we work.
Choosing the Right Colours for Interior House Painting
Colour selection is the first and most important decision. Colour determines the mood of each room and how light behaves in the space.
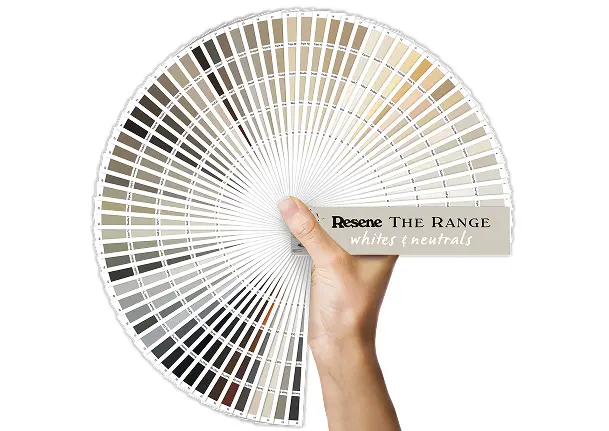
Test colours in real light
Paint manufacturers offer small sample pots for a few dollars. Apply a test patch on multiple walls — and leave it there for at least 24 hours. Watch how the colour shifts:
- Morning light
- Midday sun
- Evening shade
- Artificial lighting
A colour that looks perfect in the shop can appear completely different in your home.
If you’re unsure which colours will suit your home, we offer a complimentary in-house colour consultation when you book your interior painting service. It’s a simple way to avoid costly colour mistakes and get expert guidance on tone, flow and room feel.
How to avoid choosing the wrong colour
Instead of painting a small square, paint a large A2-sized card. Move it around the room. This prevents old paint colour from influencing your perception.
Understanding Interior Paint Finishes
Once the colour is chosen, the next step is selecting the right finish. Each finish has a different look, durability level, and suitability for various rooms.
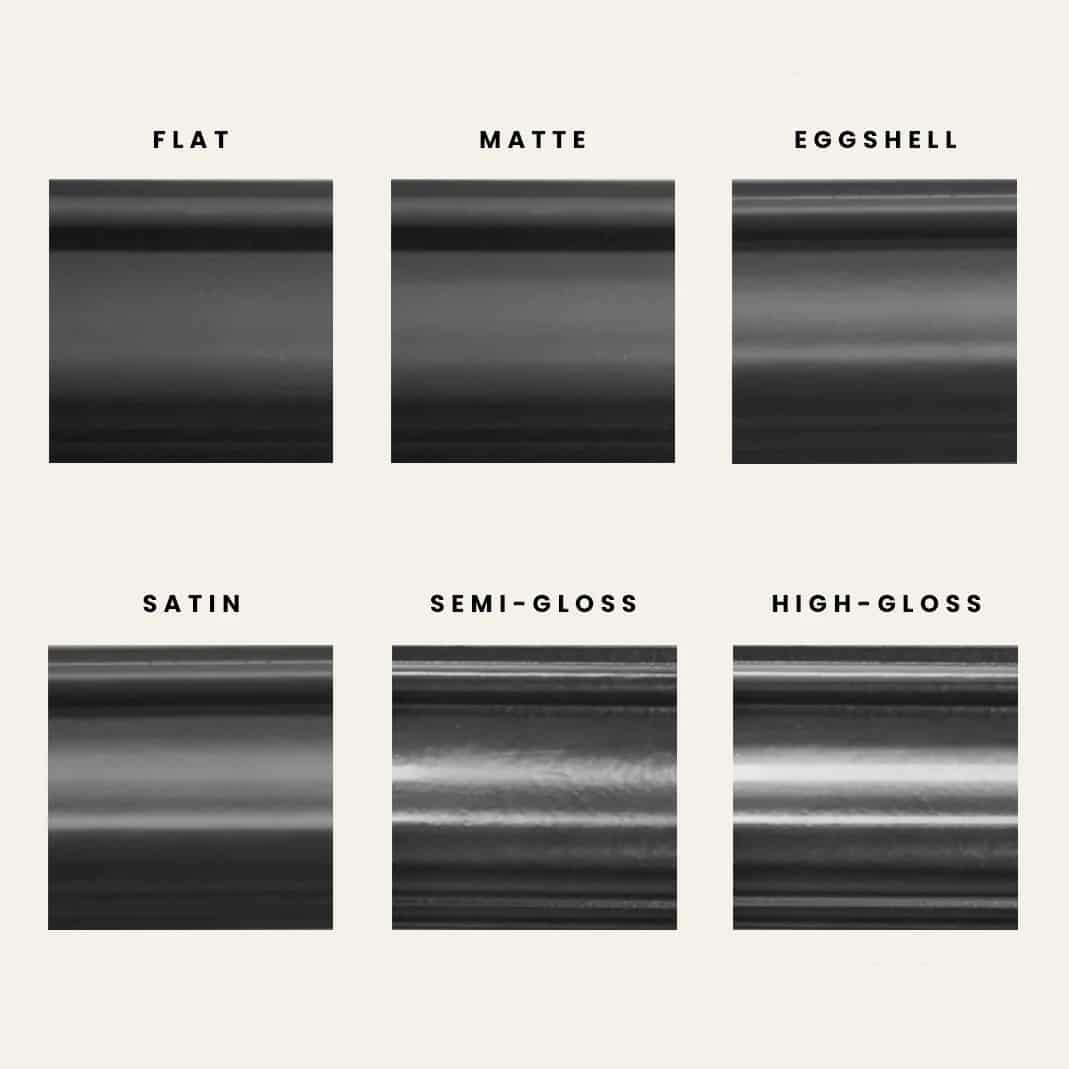
Matte / Flat Finish
- Soft, velvet look
- Ideal for bedrooms, ceilings, and low-traffic areas
- Not easy to clean
Low Sheen
- The most common interior finish
- Subtle soft glow
- Suitable for living rooms and hallways
- More washable than matte
Satin Finish
- Great for kitchens and bathrooms
- Handles cleaning and light scrubbing
- Slightly more sheen than low-sheen
Semi-Gloss
- Very durable
- Commonly used on doors, skirting boards, and trim
- Highlights imperfections, so prep must be perfect
High Gloss
- Striking finish
- Mostly used for feature trim or cabinetry
- Requires extremely smooth surfaces
Choosing the wrong finish can affect durability and overall appearance, so it’s worth matching the finish to the function of each room.
Why Preparation Is the Key to Quality Interior House Painting
Preparation is the foundation of any good interior paint job. Professional painters often spend 80% of their time prepping and only 20% painting.
Paint will not hide imperfections — it can actually make them more noticeable.
Cleaning the surfaces
Walls are washed to remove:
- Dust
- Oils
- Grease
- Contaminants
Any residue left behind can stop paint from bonding and may cause peeling.
Repairing imperfections
Professional prep includes:
- Filling holes
- Fixing cracks
- Sanding uneven surfaces
- Smoothing old roller marks
- Patching dents
- Caulking gaps
The goal is a flat, smooth, clean surface before the first coat goes on.
Priming where necessary
Primer improves adhesion, blocks stains, and ensures a uniform finish. Priming is especially important when:
- Changing dark colours to light
- Painting new plaster
- Covering stains
- Painting over glossy surfaces
Our detailed painting process breaks down exactly how we prepare surfaces, protect your home, and apply each coat. This page gives you a transparent step-by-step look at how we achieve long-lasting results.
The Interior House Painting Process Step-by-Step

Here’s how a typical interior repaint flows:
- Move or protect furniture
- Cover flooring with drop sheets
- Clean all surfaces
- Repair cracks, dents, and holes
- Sand and smooth surfaces
- Apply primer where needed
- Cut in edges and corners
- Roll the main wall areas
- Apply second or third coats
- Inspect and touch up details
A smooth, consistent finish depends heavily on attention to detail at every stage.
If you’d like to see how our preparation and finish look in a real home, see how we approached a recent interior repaint in this Ponsonby bungalow case study — including before-and-after photos and the challenges we solved.
FAQs About Interior House Painting
How long does interior paint last?
Typically 7–10 years depending on:
- Sun exposure
- Moisture levels
- Quality of paint
- Amount of wear and tear
- How well the surfaces were prepared
What order should rooms be painted in?
Most painters follow this sequence:
- Ceilings
- Walls
- Trim
- Doors
This ensures clean, crisp edges and a professional finish.
What’s the best time of year for interior painting?
Any time is suitable, but drier months allow faster drying and fewer ventilation issues.
Do I need to leave the house during painting?
Usually no — modern low-VOC paints have far less smell than older paints.
Final Thoughts
Interior house painting isn’t just about changing colours — it’s about preparation, finish selection, lighting, and craftsmanship. When done properly, it can transform your home and improve the overall feel of each room.
If you’re considering painting your interior, taking the time to choose colours carefully and understanding the process will help you achieve a result you’ll enjoy for years.
For more tips on colours, finishes, preparation and general maintenance, browse our Painting Advice articles — written to help Auckland homeowners make informed decisions.