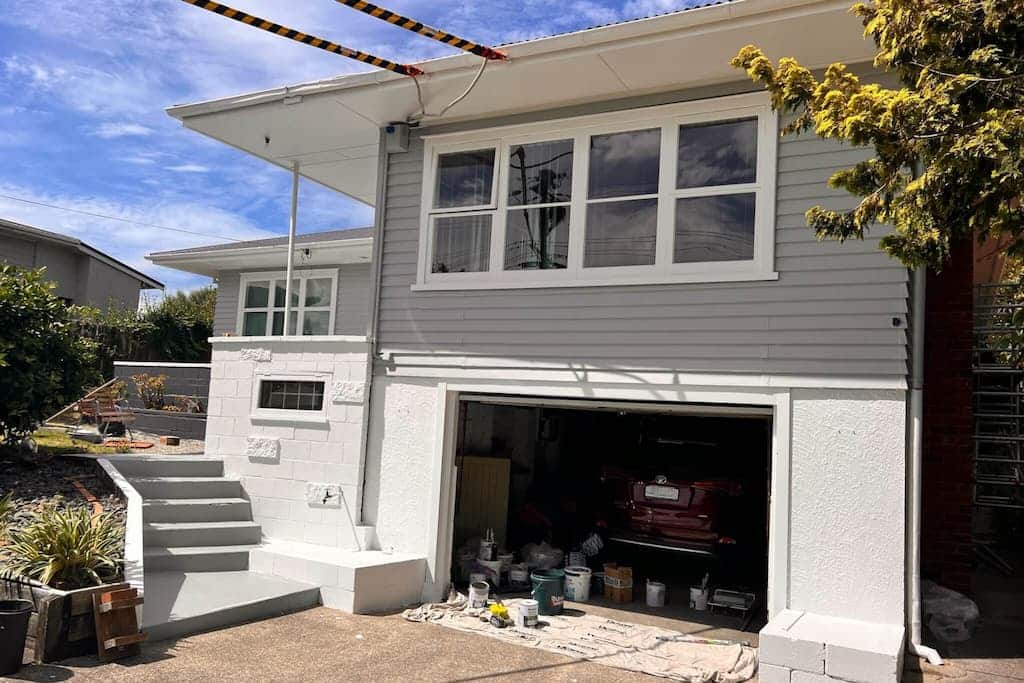
This Mangere Bridge bungalow on Wallace Road was overdue for a repaint. The paint on the weatherboards and window joinery had oxidised across most of the house and had failed completely in places. The owners wanted the old green gone and a modern colour scheme that would last.
The paint was the job we planned for. The overhead power line was the part that needed sorting first. The service line runs from the street pole, across the front yard and onto the front of the house, right where our scaffolding had to go. Before any scaffolding went up or anyone worked at height on the front of the house, we had Strike Electrical sleeve the line.
Here is what the rules say about working near power lines in Auckland, what sleeving does, and what to check before a painter starts at your place.
Who owns the line to your house?
- Street lines: the lines on the poles along the street belong to the lines company, which is Vector across most of Auckland.
- Your service line: the line that crosses your boundary and connects to your house belongs to you, the property owner.
That difference decides who gives permission for work near the line.
How close is too close?
The minimum safe distances are set by NZECP 34, the New Zealand Electrical Code of Practice for Electrical Safe Distances. WorkSafe’s guide Working near low voltage overhead electric lines explains how they apply to the line to a house, and it specifically covers painting, house washing, scaffolding and ladders. The distances apply to your body and to anything you hold or stand on, including tools, poles and scaffolding.
- More than 4m from the line: work can go ahead, but the risk should still be assessed and controlled.
- Between 0.5m and 4m: written consent from the property owner is needed before work starts. WorkSafe recommends the owner gets advice from a licensed electrical worker before signing.
- Less than 0.5m: only a licensed electrical worker can work this close to a live line. For anyone else, such as a painter working right at the point where the line connects to the house, the power must be isolated first. On most jobs, sleeving and consent mean the work stays outside this zone, and the power stays on.
- Scaffolding: without written consent, the power must be isolated if scaffolding needs to be closer than 4m to the line. No part of the scaffold can touch the line or be able to fall onto it.
- Street lines: working within 4m of Vector’s lines needs a close approach consent from Vector. This is separate from any building or resource consent from Auckland Council.
WorkSafe is clear that isolating the supply is always the safest option. The cost of getting it wrong is real. On Waiheke Island, a worker received an electric shock and fell four metres from scaffolding that had been built 1.5 to 1.9m from power lines, with no close approach consent in place. WorkSafe prosecuted both the carpentry firm and the scaffolding firm.
What sleeving does, and what it doesn’t
Sleeving means fitting yellow and black covers, known as tiger tails, over the line. WorkSafe’s guidance says they should:
- be installed by, or under the direct supervision of, a licensed electrical worker
- meet AS 4202 and be rated for low voltage lines
- cover the full length of the work area, including the scaffolding, plus at least 4 metres either side
- be checked regularly while work is under way, especially after storms or any change to the scaffold
Tiger tails protect the line from knocks and make it easy to see. They don’t make it safe to touch. WorkSafe warns that people can still get a shock from a covered line if the covering is damaged, and that you should never assume an existing covering is insulated. Sleeving works alongside the safe distances, not instead of them. We treat a sleeved line as live, and so should everyone on site.
Sleeving is electrical work, so it isn’t something your painter should do. Our job is to spot the line at the quoting stage and organise a licensed electrician before scaffolding is booked.
What to expect when the line is sleeved
- Consent comes first. Before the tiger tails go on, you sign WorkSafe’s close approach consent form and return it to the electrician. You, or your project manager, then share it with every trade working within 4m of the line, so each one understands their responsibilities before starting.
- Agree who is doing what. When several trades are on site, WorkSafe expects them to work together on the line risk, including who arranges the tiger tails.
- The line may need work first. If the line or its connections are in poor condition, they need repairing before they can be sleeved. The power has to be turned off for that, and sometimes for the sleeving itself, which can add cost and time.
- Look for the tag. You may see an electrical safety tag on the scaffold. Red means the line is live and everyone stays 4m away. Red with a green insert means consent has been given to work closer, with controls in place.
- Keep the scaffold secure. Anyone who isn’t working on the job, including children and visitors, should stay off scaffolding near a live line.
What to check before your painter puts up scaffolding
- Look up. Note where the line from the pole reaches your house, and whether it crosses where scaffolding or ladders will go.
- Ask at the quoting stage. If your painter hasn’t mentioned the line, ask how they plan to manage it, who is arranging the electrician, and whether it’s in the price.
- Allow time. Electricians book ahead, and if isolation is needed, you’ll need to plan for time without power. For Vector’s street lines, allow at least two working days for a close approach consent.
- Leave the sleeves alone. Keep metal ladders and long poles well clear of the line, sleeved or not, and never measure the distance with a metal tape.
The Wallace Road job
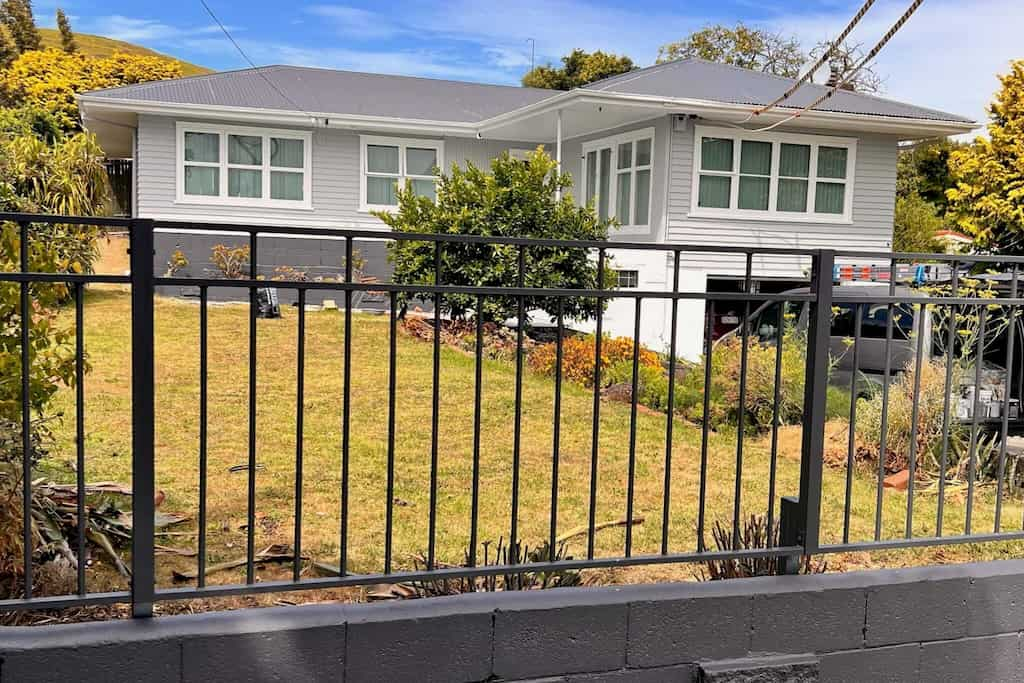
The house now has light grey weatherboards and white trim, with a matching fence and gate. The colours are Resene Silver Chalice, Sea Fog and Greyfriars. Most of the work was in the prep:
- Washed the full exterior to remove oxidisation, dirt and chalking
- Had Strike Electrical sleeve the service line across the front of the property
- Erected scaffolding to cover all levels and detailed areas
- Stripped failing sections of weatherboard and window joinery back to a sound base
- Spot-primed all bare timber and made good surface defects
- Applied Resene Lumbersider to the weatherboards for durability and solid coverage
- Finished trims and joinery in Resene Lustacryl for a clean, defined edge
- Painted the front fence and gate to tie the exterior together
The order is what makes a repaint last: wash, strip what has failed, prime bare timber, then paint. Skip the middle steps and paint can start peeling within two years. And if there’s a power line in the way, get it sorted before the scaffold goes up. See the full Mangere Bridge exterior repaint case study.